How do I accurately measure my kitchen cabinet?
Introduction
Accurate measurement is the cornerstone of any successful kitchen renovation or design project. Whether you're planning a DIY remodel or working with professionals, precise dimensions ensure a smooth process, optimal use of space, and a final result that fits both your vision and your kitchen's unique layout. This in-depth guide will walk you through the essential steps and tools needed to measure your kitchen accurately, preparing you for a renovation that enhances both form and function.
Step 1: Gathering the Right Tools
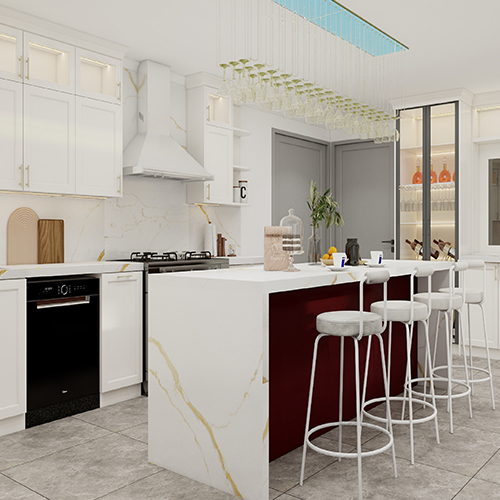
To start, gather the following tools:
1. Measuring Tape: A long tape measure (at least 25 feet) for measuring lengths and widths.
2. Level: To ensure surfaces are straight and to check for any slopes.
3. Notepad and Pencil: For recording measurements.
4. Camera or Smartphone: Take photos of the existing layout and details.
5. Graph Paper or Digital Design Software: For sketching out the kitchen plan to scale.
Step 2: Preparing for the Measurement Process
Before you begin, clear countertops and remove any obstructions that might interfere with accurate measurements. Turn off appliances and, if possible, disconnect them to facilitate moving for more precise measurements. It's crucial to measure in metric or imperial units consistently throughout the process. Also, note down the location of electrical outlets, switches, windows, and doors, as these can affect cabinet and appliance placement.
Step 3: Measuring Walls and Ceiling
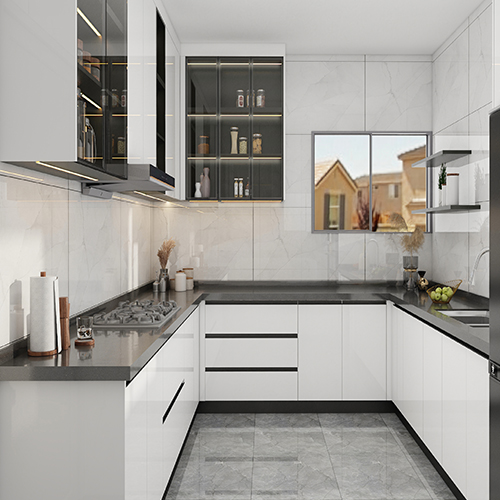
Begin by measuring the length of each wall, from corner to corner, noting down the dimensions. Measure the height of the walls from floor to ceiling in several spots, as floors may not be perfectly level. If the ceiling has slopes or is irregular, measure the height at various points along the wall. Record any architectural features like beams, niches, or bulkheads that could impact cabinet installation or design choices.
Step 4: Windows and Doorways
Measure the width and height of each window and doorframe, including the distance from the floor to the bottom of the window sill and from the ceiling to the top of the frame. Note whether doors swing in or out and their clearance space when fully open. Measure the trim around windows and doors if you plan to keep them, ensuring new cabinets or appliances won't obstruct them.
Step 5: Appliances and Plumbing
For existing appliances, record their dimensions, including width, depth, and height. Measure the distance from the wall to the front of each appliance and note any necessary clearances for ventilation or doors to open fully. Identify the locations of plumbing fixtures like sink and dishwasher, measuring from walls and noting the height from the floor. If relocating plumbing, consult a professional for guidance on feasibility and potential costs.
Step 6: Electrical Outlets and Switches
Document the location of all electrical outlets, switches, and light fixtures, noting their distance from the floor and nearby walls. This information is crucial for planning new layouts without disrupting essential services.
Step 7: Creating a Scale Drawing
Using graph paper or digital software, draw a scaled floor plan of your kitchen. Start with the room's outline, then add in windows, doors, and permanent fixtures. Sketch in your current appliances and cabinets to scale, using your measurements as a guide. This visual representation will help you visualize new layouts and identify potential issues before committing to changes.
Step 8: Double-Checking and Finalizing
Once you've completed your initial measurements and drawing, review everything carefully. It's wise to have someone else verify your measurements to avoid costly mistakes. Double-check critical dimensions, especially those related to appliances and built-in features. Make adjustments as needed and finalize your plans.
Conclusion
Accurate measurement is the first and most critical step in any kitchen renovation. Taking the time to meticulously measure every aspect of your kitchen sets the foundation for a successful project. Whether you're looking to maximize storage, improve workflow, or simply refresh your space, a well-measured plan ensures a tailored design solution that fits your lifestyle and aesthetic preferences. With the right tools, careful attention to detail, and this comprehensive guide, you're now equipped to embark on your kitchen transformation journey with confidence.
FAQ:
1. How to measure an existing kitchen?
Measuring an existing kitchen involves several steps:
1. Sketch a basic floor plan noting windows, doors, and permanent fixtures.
2. Measure each wall's length and record.
3. Note the dimensions of all appliances, islands, and built-ins.
4. Measure from the floor to the ceiling and from the countertop to the bottom of any upper cabinets.
5. Indicate the location of electrical outlets, switches, and plumbing points.
6. Double-check all measurements for accuracy.
2. How to determine the size of a kitchen?
To determine the size of a kitchen, follow these steps:
1. Measure the length and width of the room in feet.
2. Multiply these two numbers together to get the square footage (length x width = square footage).
3. For irregularly shaped kitchens, divide the space into rectangles or squares, measure each, calculate their square footage individually, then sum them up.
This total square footage gives you the kitchen's size, useful for planning, renovations, or comparing to industry standards.

