Alternative Methods for Installing Wall Cabinets Without Studs: A Step-by-Step Guide
Alternative Methods for Installing Wall Cabinets Without Studs: A Step-by-Step Guide
I. Introduction
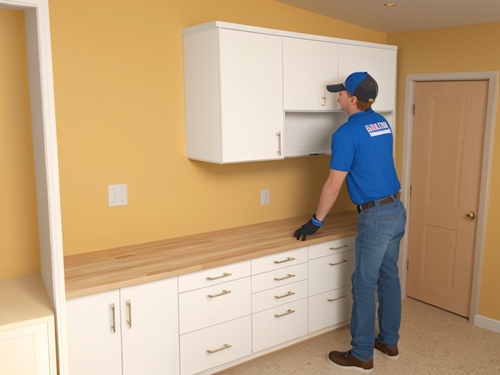
Installing wall cabinets without studs refers to the process of securely mounting cabinets on a wall surface that lacks traditional wooden studs for support.
This situation may arise in certain situations, such as when working with a non-load-bearing or partition wall, or when the studs are not conveniently located for cabinet installation.
Various alternative methods can be employed, such as using wall anchors,toggle bolts, or specialized hardware designed to provide reliable support.
Careful consideration and appropriate installation techniques are necessary to ensure the cabinets are securely mounted and can safely bear the weight of the contents.
Alternative methods for installing wall cabinets are necessary when studs are unavailable or not in the desired location.
These methods provide flexibility in cabinet placement and ensure proper weight distribution. They are crucial for accommodating structural limitations in partition walls or non-load-bearing walls.
Additionally, alternative methods are essential for retrofitting or remodeling projects where existing walls need cabinets installed. By using wall anchors, toggle bolts, or specialized hardware, cabinets can be securely mounted without compromising the wall's integrity.
II. Assessing the Wall and Cabinet Weight
A. Checking the Wall Composition
Different walls, like drywall, plaster, and concrete, vary in suitability for alternative installation methods. Drywall is often compatible with wall anchors or toggle bolts. Plaster walls may require specialized hardware for secure mounting. Concrete walls typically need concrete anchors such as expansion anchors or sleeve anchors.
Brick or stone walls may necessitate specific hardware like brick anchors or concrete screws. Considering wall material and using appropriate hardware ensures successful installation of cabinets without studs.
Here are some tips to help identify the composition of a wall:
1. Visual inspection: Examine the wall surface for visible clues such as smooth and uniform appearance for drywall, textured or uneven surface for plaster, or visible brick or stone patterns for masonry walls.
2. Tap test: Gently tap on the wall and listen to the sound produced. Drywall often produces a hollow and high-pitched sound, while plaster walls produce a more solid and dull sound.
3. Outlet or switch plate removal: Removing a cover plate can reveal the underlying wall material. Drywall has a paper-like surface, while plaster walls have a thicker and more solid appearance.
4. Baseboard or crown molding inspection: Removing a small section can provide a glimpse of the wall material. Drywall has a gypsum core between paper layers, while plaster walls may have layered construction.
5. Stud finder: Use a stud finder to detect wooden studs, indicating a stud-based wall construction.
B. Determining Cabinet Weight
Determining the weight of a cabinet can vary depending on the size, materials used, and the contents of the cabinet. Here's a general process you can follow to estimate the weight of a cabinet:
Measure the dimensions: Measure the height, width, and depth of the cabinet in inches or centimeters. Ensure that you measure the external dimensions, including any handles or protruding parts.
Calculate the volume: Multiply the height, width, and depth measurements together to calculate the volume of the cabinet. If your measurements are in inches, the resulting volume will be in cubic inches. If you measured in centimeters, the volume will be in cubic centimeters.
Convert volume to weight: To estimate the weight, you'll need to determine the average density of the materials used in the cabinet. Common cabinet materials include wood, metal, or a combination of both. The density of these materials can vary significantly.
Wood: The density of wood depends on the type of wood used. The density is typically measured in pounds per cubic foot (lb/ft³) or kilograms per cubic meter (kg/m³). You can find density charts online or consult woodworking references to find the average density of the specific type of wood in your cabinet.
Metal: The density of metals also varies depending on the type of metal. Common metals used in cabinets include steel, aluminum, and iron. Again, density charts or metallurgy references can help you find the average density of the metal used.
Multiply volume by density: Once you have the average density of the material, multiply the volume of the cabinet by the density to estimate the weight. Ensure that you use consistent units for the volume and density to get the weight in the appropriate unit (pounds, kilograms, etc.).
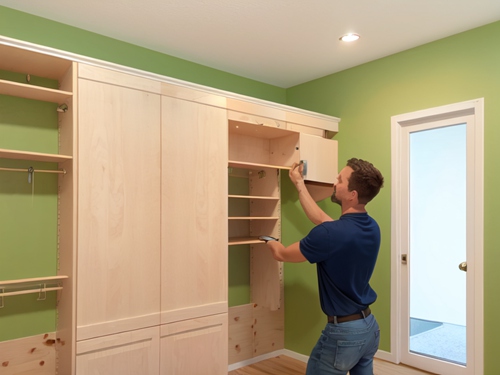
III. Alternative Methods for Installing Wall Cabinets
How to install toggle bolts for wall cabinet installation.
Gather the necessary tools and materials:
Toggle bolts appropriate for the weight of your cabinet (refer to the weight specifications provided by the toggle bolt manufacturer).
Electric drill with a drill bit suitable for the size of the toggle bolts.
Screwdriver or drill bit suitable for the toggle bolt screws.
Pencil or marker.
Level.
Cabinet mounting hardware (brackets, screws, etc. specific to your cabinet).
Determine the cabinet placement:
Decide where you want to install the cabinet on the wall. Use a pencil or marker to mark the desired height and location on the wall.
Ensure that the location is suitable for the weight and size of the cabinet, and that there are no hidden electrical or plumbing lines behind the wall.
Locate the wall studs:
If possible, it's best to anchor your cabinet directly to wall studs for maximum support and stability. Use a stud finder to locate the studs in the wall.
Mark the position of the studs on the wall, using a pencil or marker.
Mark the hole locations:
Hold the cabinet against the wall at the desired height and position.
Use a level to ensure the cabinet is straight and aligned properly.
Mark the hole locations on the wall through the mounting holes on the back of the cabinet.
Drill pilot holes:
Use an electric drill and an appropriate drill bit to drill pilot holes at the marked locations.
Ensure the drill bit size matches the diameter of the toggle bolts you are using.
Insert the toggle bolts:
Push the toggle bolts through the pilot holes in the wall until the wings are completely inside the wall.
Hold the toggle bolt screw head and turn it clockwise to tighten the toggle bolt until the wings are secure against the back of the wall.
Mount the cabinet:
With the toggle bolts installed, lift the cabinet and align its mounting holes with the toggle bolts.
Insert the screws provided with the toggle bolts through the cabinet mounting holes and tighten them into the threaded portion of the toggle bolts. Do not overtighten.
Test the stability:
Once the cabinet is mounted, gently test its stability by applying some pressure to ensure it feels secure.
Repeat for additional mounting points:
If your cabinet requires multiple mounting points, repeat the above steps to install the additional toggle bolts and mount the cabinet securely.
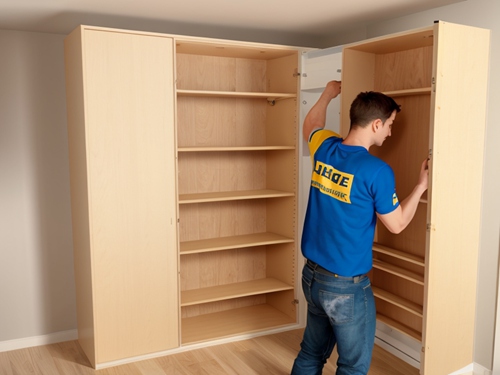
IV. Ensuring Stability and Safety
Checking and adjusting the level of a cabinet is an important step to ensure it is installed correctly and provides a visually appealing appearance. Here's a guide on how to check and adjust the level of a cabinet:
Tools needed:
Level (preferably a long spirit level)
Shims (thin wooden or plastic wedges)
Screwdriver or drill
Procedure:
1. Preparation:
Empty the cabinet of any items to make it easier to work with.
Have your level, shims, and screwdriver or drill ready.
2. Initial check:
Place the level horizontally on the top surface of the cabinet. Check if the bubble in the level is centered.
If the bubble is centered, the cabinet is already level. If not, you'll need to adjust it.
3. Identify the low side:
Determine which side of the cabinet is lower based on the level's bubble position.
This will guide you in adjusting the cabinet to achieve a level position.
4. Adjustments:
For wall-mounted cabinets:
Locate the screws or brackets holding the cabinet to the wall.
Loosen the screws or brackets slightly on the lower side of the cabinet.
Insert shims between the lower side of the cabinet and the wall at the appropriate locations.
Gradually tighten the screws or brackets while checking the level.
Continue adjusting and tightening until the cabinet is level.
Ensure the shims are firmly in place and support the weight of the cabinet.
5. Final check and fine-tuning:
Once you've made adjustments, recheck the level of the cabinet using the level.
Make any additional small adjustments if necessary until the cabinet is perfectly level.
6. Secure the cabinet:
Once the cabinet is level, securely fasten it to the wall or base according to the manufacturer's instructions.
Double-check the levelness after tightening to ensure it hasn't shifted during the fastening process.
V. Conclusion
Alternative methods for installing wall cabinets without relying solely on studs include the French cleat system, toggle bolts or Molly bolts, wall anchors, horizontal blocking, cleats or rails, and adhesive mounting. The French cleat system provides secure and adjustable installation. Toggle bolts and Molly bolts offer additional support, especially in hollow walls. Wall anchors provide extra support when studs are unavailable. Horizontal blocking involves attaching a support board between studs. Cleats or rails create a secure hanging system. Adhesive mounting uses specialized adhesives for direct bonding. Consider factors like cabinet weight, wall conditions, and desired adjustability when selecting the appropriate method.

